Creating a Windows OpenStack Instance
Applies To: CLOUD IAAS
This guide aims to walk you through creating and gaining secure access to a Windows instance, in Memset's OpenStack Public Cloud.
Microsoft Licencing
Memset are legally able to provide licenses under our SPLA agreement with Microsoft. Any use of non Memset Microsoft Windows licenses on our OpenStack platform is strictly forbidden, regardless of any agreements you or your organisation has with Microsoft or a reseller of Microsoft products.Authentication
Before we can get started, we need to make sure that some initial prerequisites are met.
- Key Pair (SSH Keys)
- Security Group Rules
Create a Key Pair
OpenStack's Dashboard (Horizon) allows users to create or import a private / public key pair. These keys are to be used to encrypt and decrypt your Windows passwords and are essential for getting started.
In this guide, we will assume that you do not already have a key pair and ask OpenStack to generate them for us.
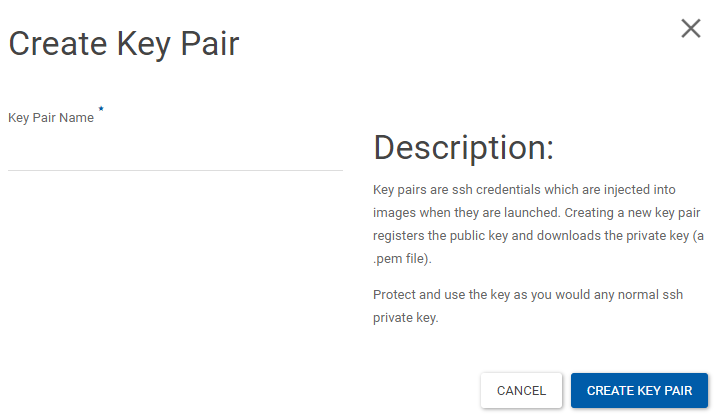
In the navigation pane, navigate to "Project > Compute > Access and Security > Key Pairs" and select "Create Key Pair"

In this prompt, name your key pair as you see appropriate. When you click "Create Key Pair" your browser will download them automatically. The keys are presented as a .pem file.
Protect your Key Pair
It is essential to note that these keys are very important! They should be kept safe and secure on your system at all times and treated like Passwords or Encryption Keys.Security Groups
Security groups act as granular firewall rules to your instances. Before you are able to login remotely, you need to create an OpenStack Security Group rule that allows ingress remote desktop traffic.
To create this rule, navigate to "Project > Compute > Access & Security > Default > Manage Rules", and then select "Add Rule".

Now you have satisfied all of the prerequisites to deploy a Windows compute instance, we can move on to provisioning.
Creating a Windows Instance
Use the Creating an Instance Documentation on how to start Launching a New Instance.
Once you have decided on the amount of resources to allocate, move over to the 'Access and Security' tab. Choose your 'Key Pair' and be sure to select the 'Security Group' you added the rule to previously, in our case, 'Default'.
When you are ready, select the "Launch Instance" button. The instance will provision very quickly, but you may notice that Windows requires a few reboots. This is because the Operating System is going through a process known as 'SysPrep'. This should typically take around 5 minutes.
Once this has completed, you will notice the VNC console displays a Windows login page. (Instance > Action > Console)
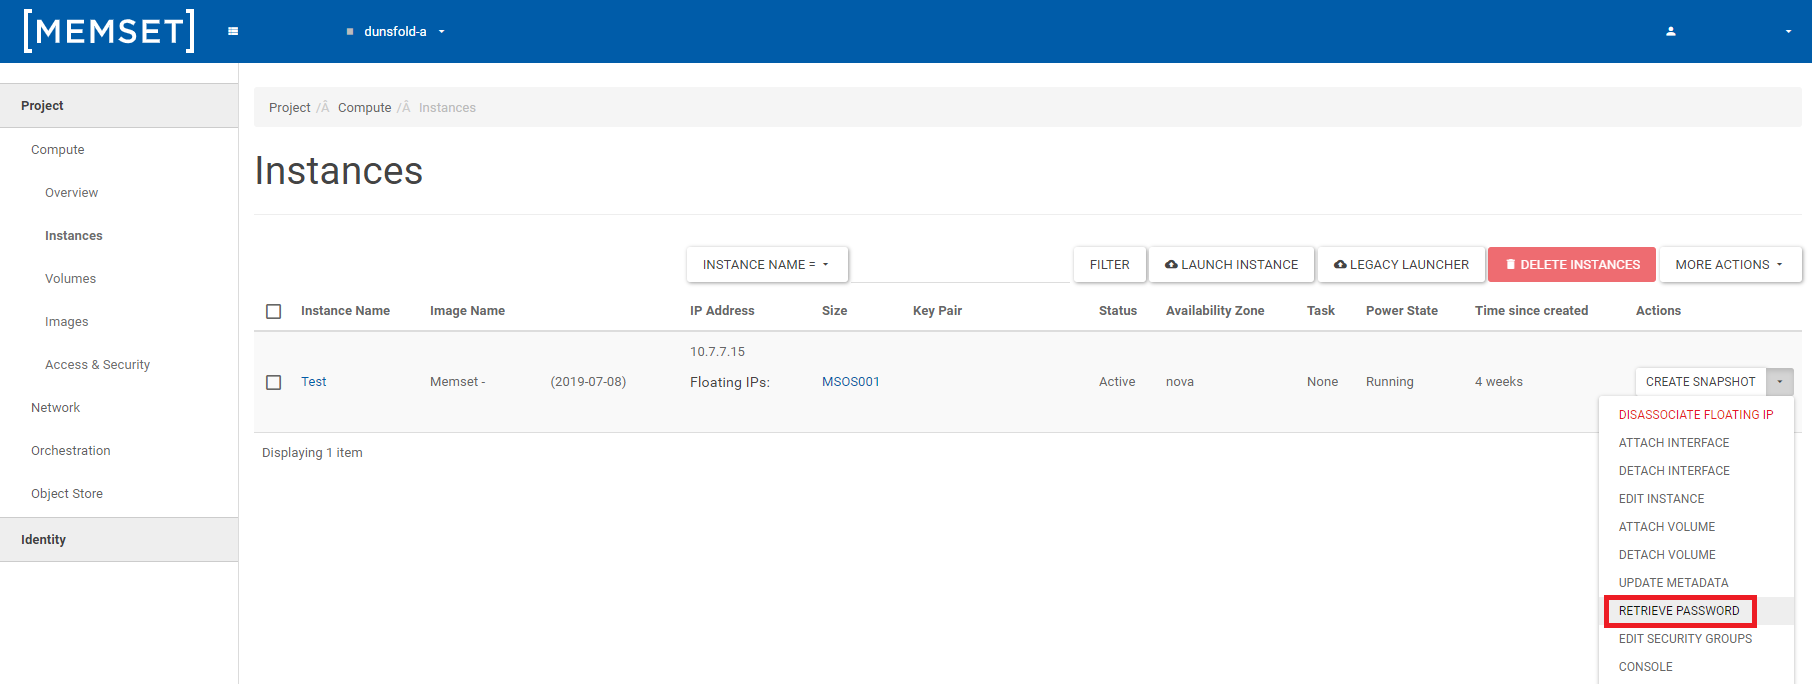
At this point, you might be asking yourself how to find the password for the "Administrator" account. From the dashboard locate the instance row and select the dropdown under "Actions" and select "Retrieve Password".

Here, you are presented with a "Retrieve Password" prompt. To proceed, use "Browse" to navigate to your local .pem key pair files generated earlier.

Once you have imported your .pem certificate, you will be able to choose 'Decrypt'. In the 'Password' field you will see your configured 'Administrator' password.
You now have two options to get started, either use the VNC console to configure the server, or pop back to the actions menu and assign a floating IP. If you choose the latter, you will now be able to access remotely from any Remote Desktop Client.