VPN
Configuring your VPN
Once your VPN appliance is Live, it will show up in your Memset Services Overview, in your Control Panel as below:

Upon clicking on “Manage” from within the VPN appliance, you will be presented with the options shown below:
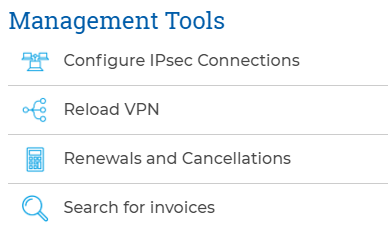
The first step in configuring the VPN appliance is to add an IPsec connection. This will involve specifying the Phase 1 and 2 connection parameters required to establish an IPsec tunnel. Click on “Configure IPsec connections”.
You will then be presented with the below form:
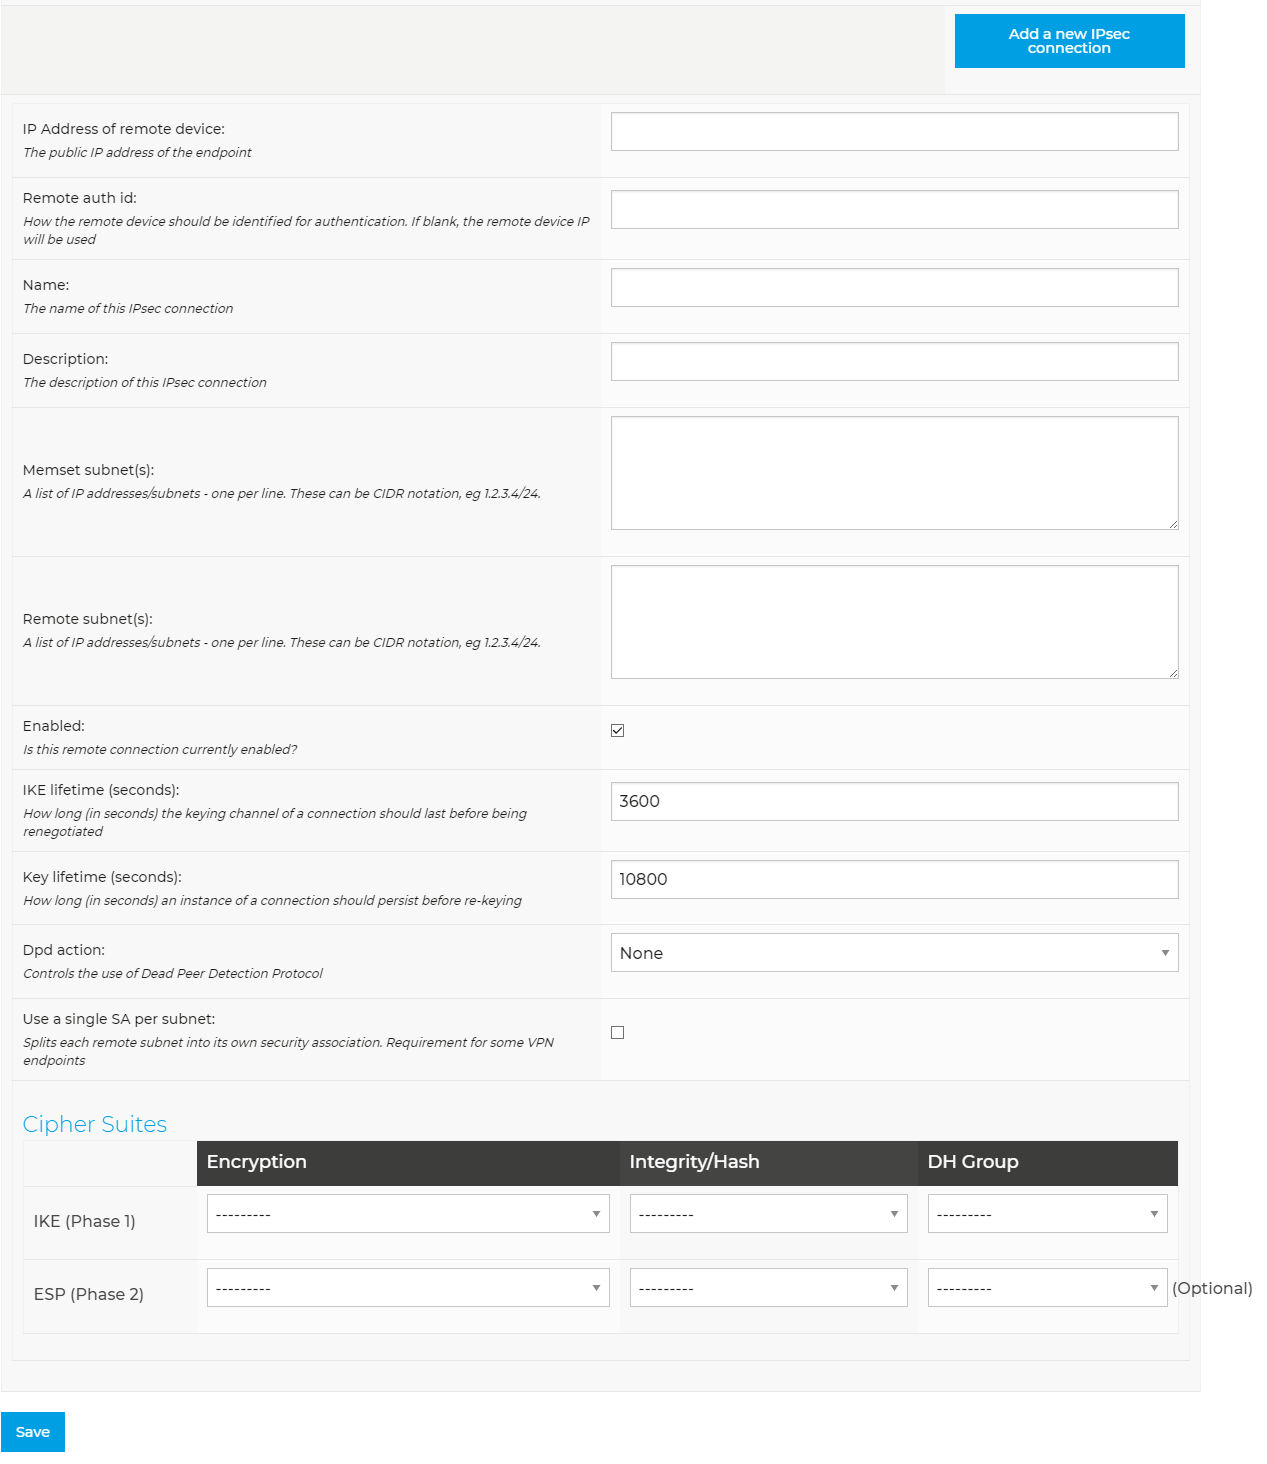
Once you are satisfied with the IPsec parameters, save them. You will then be redirected to the IPsec connection overview screen:
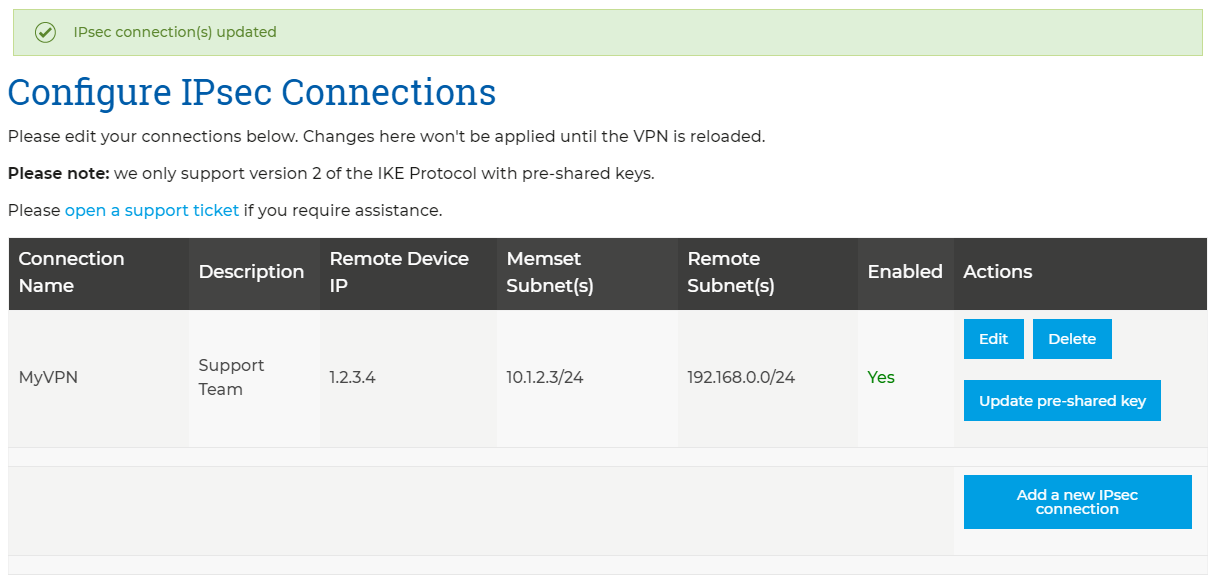
There is now an IPsec connection row, with an option to provide us with your pre-shared key for endpoint authentication. Please leave your pre-shared key using the respective button found on the newly created row, this will ten be encrypted and stored in the Configuration in your VPN Appliance.
Return to the VPN appliance Control Panel options (shown above), and you will find a “Reload VPN” button, select this. This will reload the IPsec configuration on your VPN appliance for you.
Information
Please Note: There are no automated reloads, if you need to make changes to your connections ensure that a reload is carried out afterwards.The ESP protocol and UDP port 500 will need to be open on your IPsec endpoint and any intermediary firewalls to allow the connection to be established.
A tunnel will only be established on a request to send traffic to the remote ranges. So to test that your IPsec configuration is correct on both ends, try to send traffic across the tunnel.
Once the IPsec connection has been established, you will need to configure the infrastructure to route traffic across your VPN tunnel, as required. If you wish to manage this part of the process yourself, some instructions can be found below.
Routing Traffic Across the VPN
The aforementioned configuration will involve adding routes for the RFC1918 address ranges at both ends of the VPN tunnel.
For example, if the address range in your remote office is 10.87.4.0/24, and the Memset VLAN/Private IP address for your VPN Appliance is 192.168.0.10, the below commands would ensure traffic destined for your remote office is routed across the tunnel:
For GNU/Linux using the IP utility:
ip route add 10.87.4.0/24 via 192.168.0.10 dev eth0This will not persist after a reboot, In order to make a route persistent, it will need to be added to the network interfaces file for the respective distribution or an init script run on boot.
Linux (Debian/Ubuntu)
For Debian-based distributions, for example, the ip command can be added to the '/etc/network/interfaces' file on the interface that has your Memset VLAN IP address assigned. The below is an example of an interface;
auto eth1
iface eth1 inet static
	address 192.168.0.60
	network 192.168.0.60
	netmask 255.255.255.0
	broadcast 192.168.0.255

up ip route add 10.87.4.0/24 via 192.168.0.10 src 192.168.0.60Windows
For Windows (Server 2008R2 to 2016) using the route utility in a command prompt or Powershell:
route -p add 10.87.4.0 MASK 255.255.255.0 192.168.0.10 METRIC 1Providing routes mentioned above are configured on both your Memset Infrastructure and Endpoint Infrastructure on the other end of the tunnel, traffic will be routed across the VPN tunnel.
Additional Support
Our VPN Product does not come with support as standard and may be deemed as chargeable, confirmation of which will be display upon creating the ticket. If you do have any issues or questions however, please contact our support team whom will assist you further.