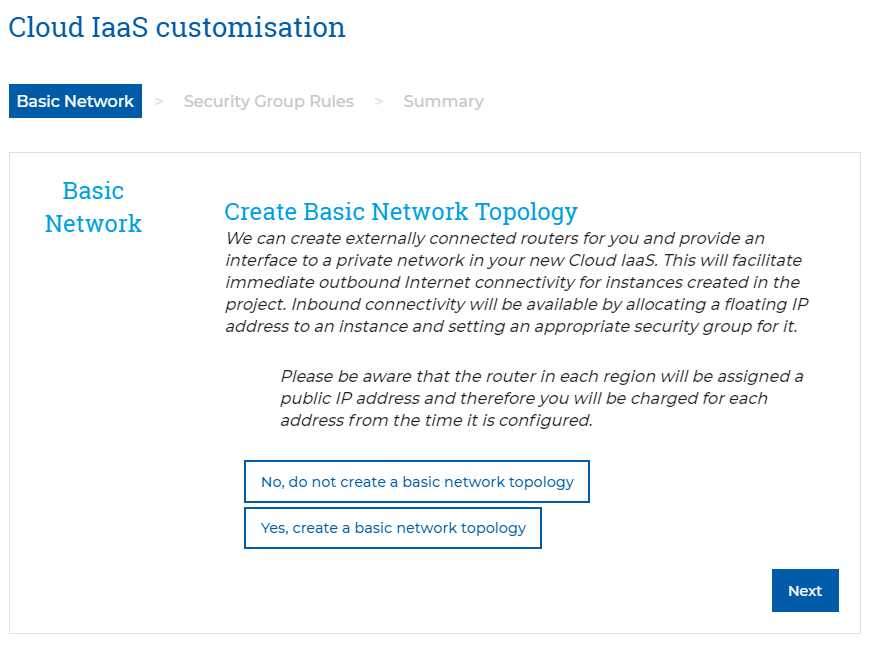
Depending on the starting point of your Memset OpenStack project, you may have opted for a 'Basic Network Topology' during the setup. If not, the following steps should help you create a fully functioning virtual network infrastructure.
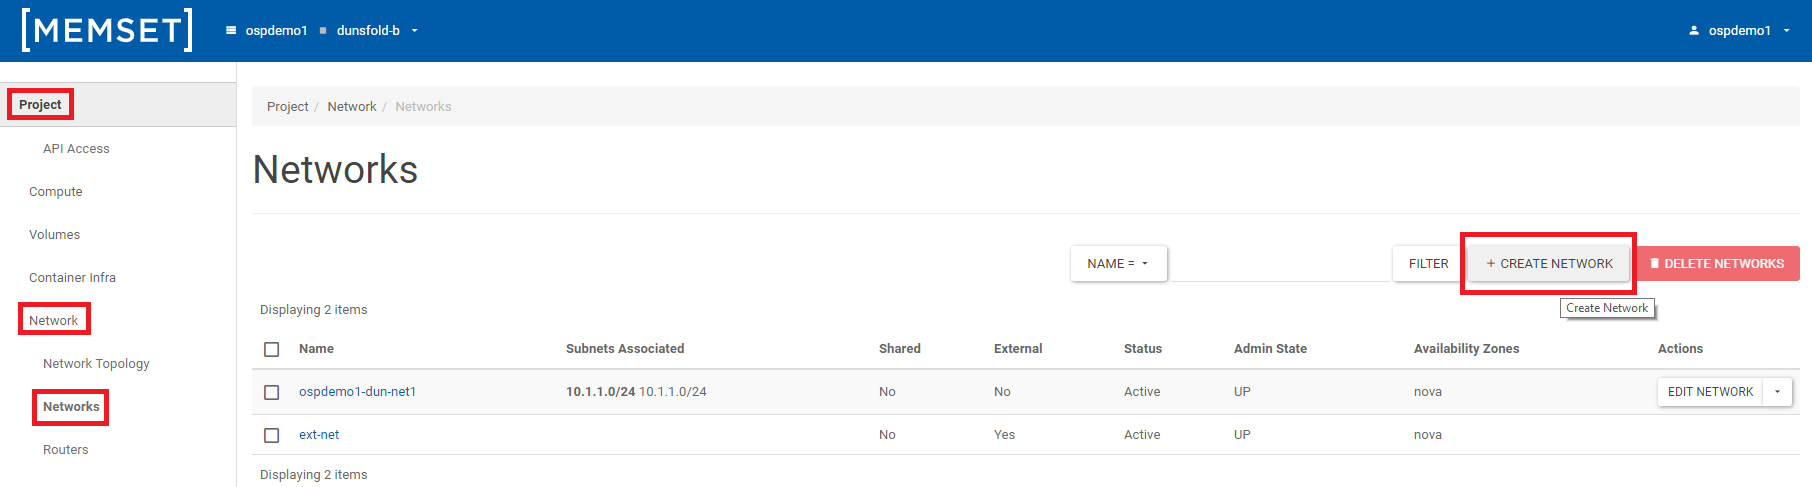
Firstly, to create your virtual Tenant Network, from within the Cloud IaaS (powered by OpenStack) dashboard, navigate to Project > Network > Networks and locate the "Create Network" button in your Networks Tab.
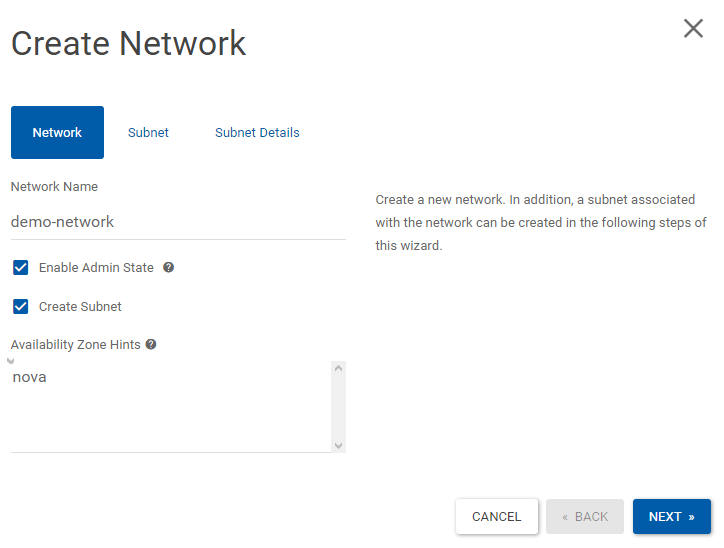
Enter a suitable name for your network and click the "Next" button;
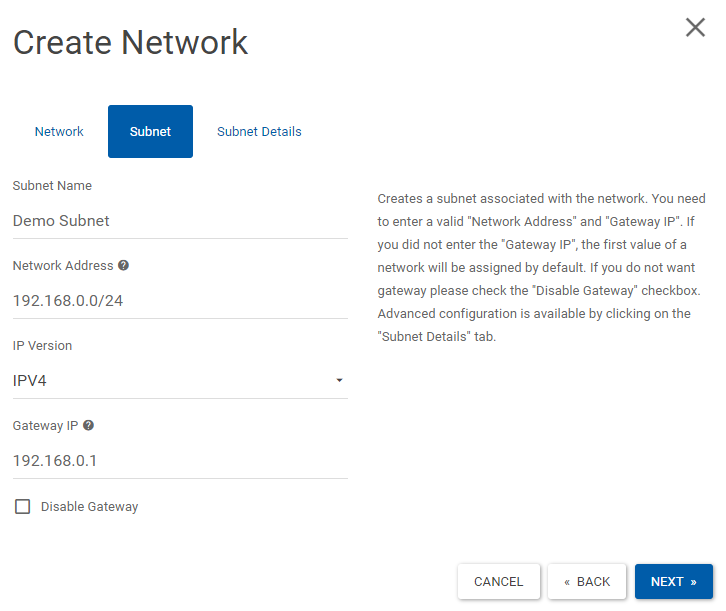
This page allows you to create a subnet associated with the network. You need to enter a valid "Network Address" and "Gateway IP" (It's usually best to start with a generic /24 network such as 10.10.10.0/24.).
If you did not enter the "Gateway IP", the first value of a network will be assigned by default. If you do not want gateway please check the "Disable Gateway" checkbox.
For more information on CIDR ranges, see this article.
This network address can overlap with any other virtual network in your project. If your network will require access to any other network, or the Internet, it is a good idea to set your gateway IP to the first IP address in the CIDR range.
Once you have entered the required details, press the "Next" button to continue.
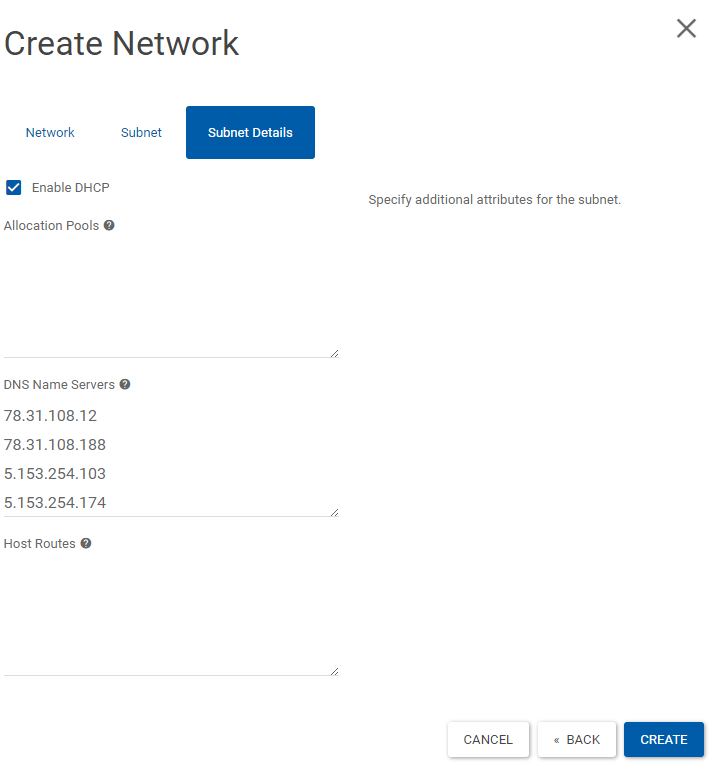
The last options to configure are:
DHCP Allocation Pools: This is a range of IP addresses that can be dynamically associated with your virtual machines. Leave blank to enable the full scope of this address range
DNS Servers: A list of DNS servers that will be delivered to your instance by the DHCP server
Host Routes: Advanced configuration that can be used to specify persistent host routes
Once you have configured these options, press the "Create" button to Create your new Network.