Creating Activity Reports for your R1Soft Backups
Applies To: CLOUD VPS DEDICATED Windows BACKUPS
An activity report is a report that the R1Soft backup server will generate upon completion of a task and email to a configurable address. A report can be configured to contain any of the following information:
- Task History Report - These reports contain information on the normal working of the server i.e. backing up, merging recovery points, arching recovery points etc.
- Server/Agent Backup Status Report - These reports contain information on any errors or failures from the server or agent.
- Quota Reached Alert Report - These reports will notify you if the quota allocated to volume is reached to your specified percentage.
Creating a New Report
A report is created by selecting the "Reporting" option within the R1Soft Backup Interface:

Then clicking on the Create New Report link in the top left:

This will open a new dialogue box where all the parameters for the report can be configured:
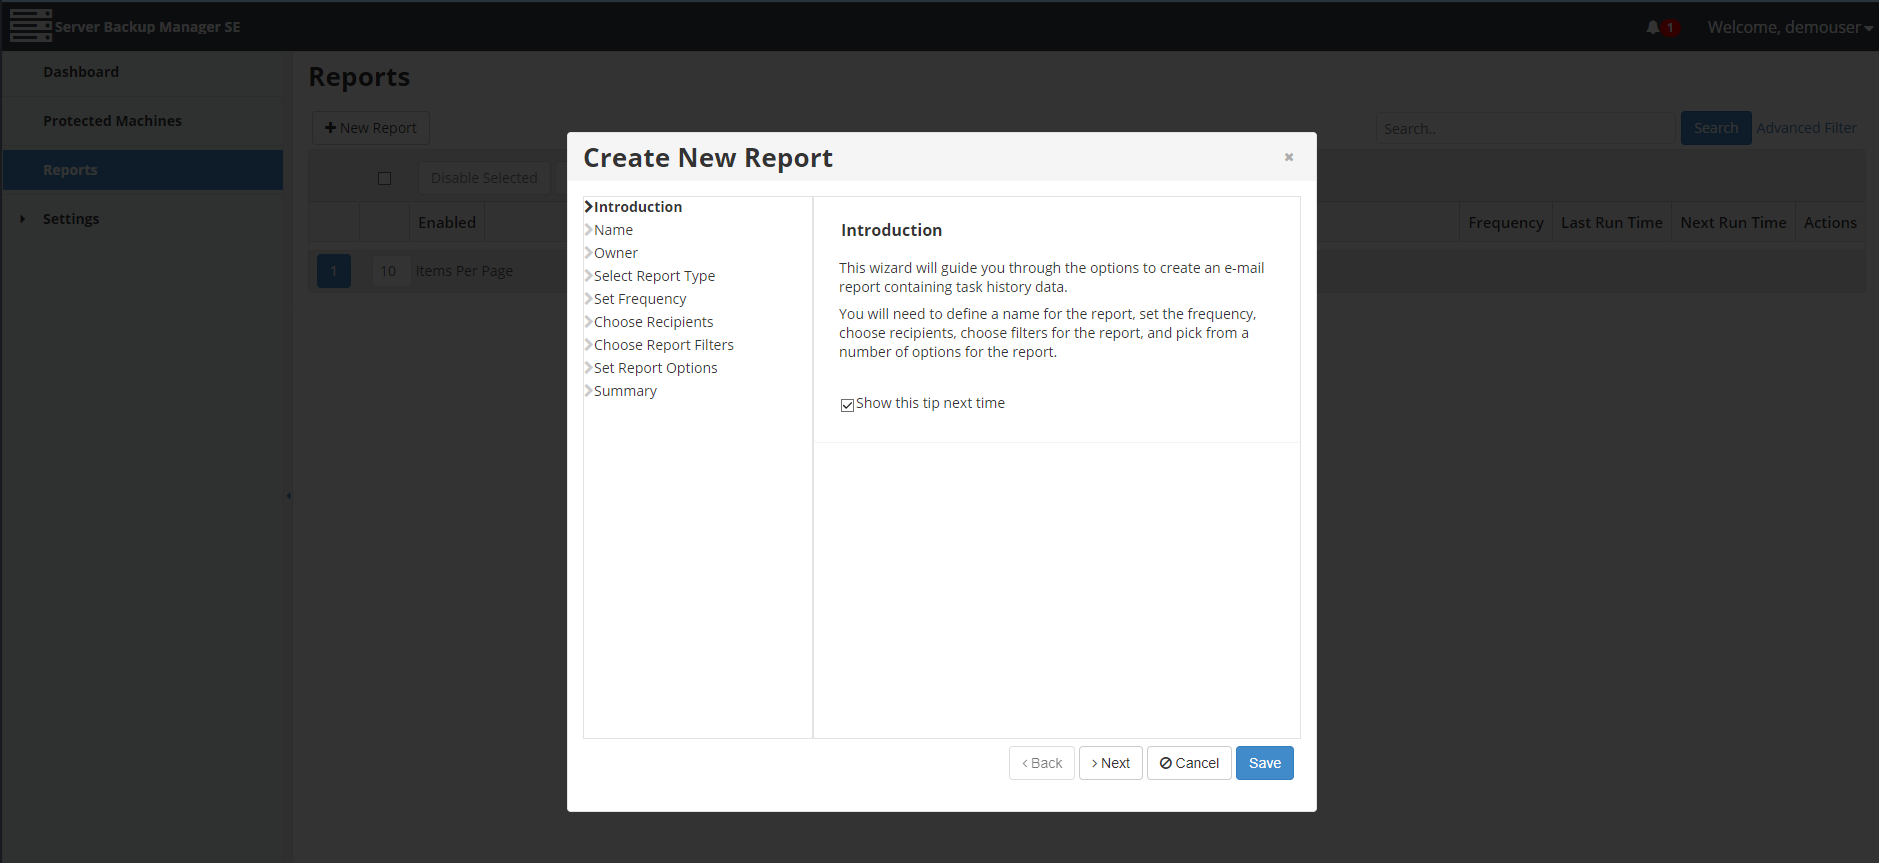
The below looks at each of the sections of the "Create New Report" process in more detail:
Name
The report can be enabled and disabled here. Also the name of the report as shown in the R1Soft interface, and the subject line if the report is emailed is set here.
Owner
The information included in the report will depend on the owner of the report. Owners with lower privileges will receive less information.
Select Report Type
There are three types of report than can be generated. They are as follows:
Task History Report
This report will contain information on the successful completion of the various tasks involved in taking a backup e.g. merging recovery points etc.
Server/Agent Backup Status Report
This report will contain in formation regarding any issues with the R1Soft server or agent that would have prevented a backup.
Quota Reached Alert Report
This report will only be generated when a backup policy is nearing it's configured disk space quota and further backups may be not be possible.
Frequency
This section allows the timing of when the report is created to be set. On Demand means that the report will not be generated automatically but rather only when the Run Now icon is clicked on the report line once the report has been configured and enabled.
Choose Recipients
This section allows the recipients of the report to be selected. The only users that are available are those that have already been added to the R1Soft control panel.
Choose Report Filters
This is where the information included in the report is set. It is possible to include any and all of the following:
- Filter by Server. Include tasks for the specified servers.
- Filter by Task Type. Include tasks of the specified types.
- Filter by Task State. Include tasks of the specified states.
- Filter by Task Alert. Include either tasks with alerts, or tasks without alerts.
- Filter by Log Message Level. Include tasks that contain a log message with one of the specified levels.
When one of these options is selected a dialogue box will appear where that options can e.g the servers to be included in the report can be added to the report.
Set Report Options
This section allows provides additional configuration options:
Notify if the server has not been backed up in _ days
This means that, regardless of the report type, a report will be sent if backups have failed for the specified number of days.
Send Individual Emails
This means that each recipient will receive emails without the other recipients being listed.
Send Empty Reports
This means that a report will be sent even if there is nothing to report i.e. the specified action has not yet occur This can happen if the reporting frequency is higher than the action frequency.
Specify From Address
This is where the report From: address can be specified if something different from the default is required.
Summary
This page will show you all the previously configured options.
Once you have configured all options required, press the "Save" button to save your New Report. Once saved, the report will then be sent out as per the report frequency schedule.