Connecting a Network to the Internet
Applies To: CLOUD IAAS
Once you have created a Network the next step is usually to connect it to the internet. This tends to be for one of the following reasons:
- Outgoing Internet - Access for instances on the network (Source NAT - SNAT)
- Incoming Internet - via attached Floating IPs (Destination NAT- DNAT)
Attaching the network to the internet is simply a matter of connecting your virtual router to Memsets 'ext-net'. This network represents the internet to OpenStack projects.
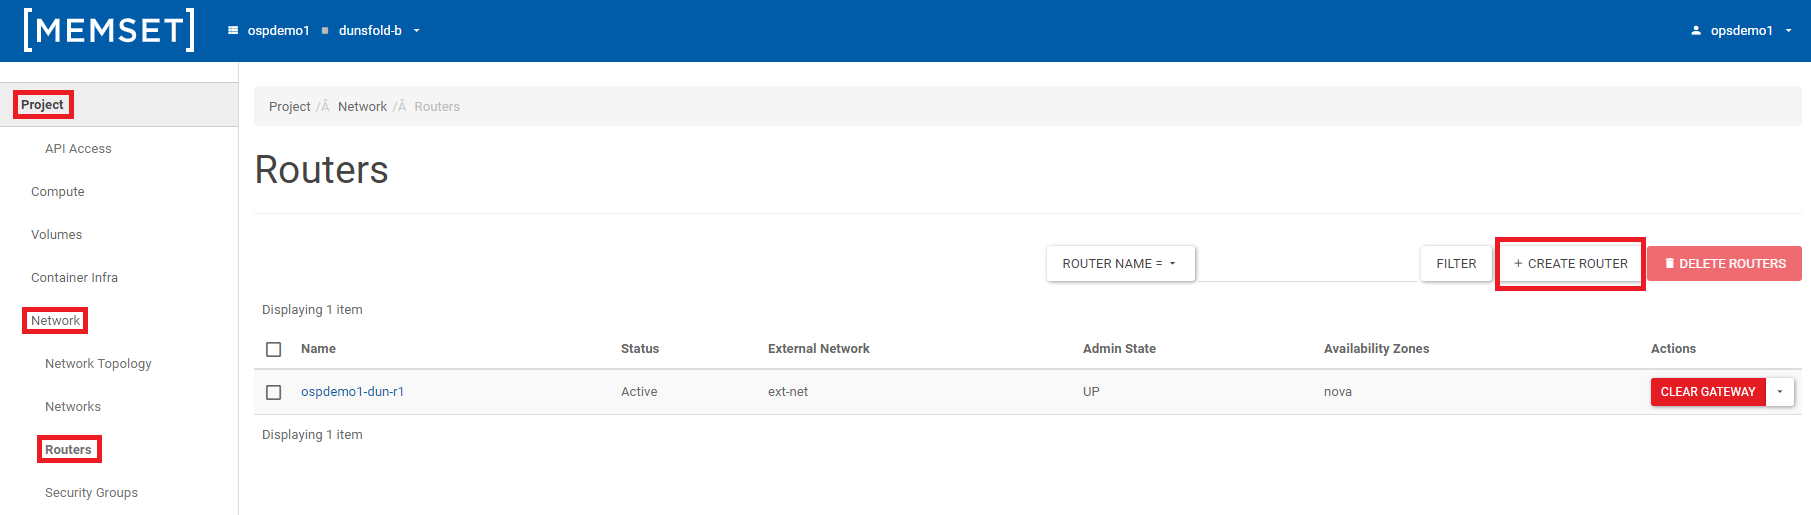
Firstly, navigate to the Routers section within your Cloud IaaS (powered by OpenStack) Dashboard, by selecting Project > Network > Routers;
Once you have found this page, click 'Create Router'.
You will be prompted with a 'Create Router' window which involves two options:
- Name - Enter a suitable name for the router (anything you wish)
- External Network - Choose an External Network (There should only be one - "EXT-NET")
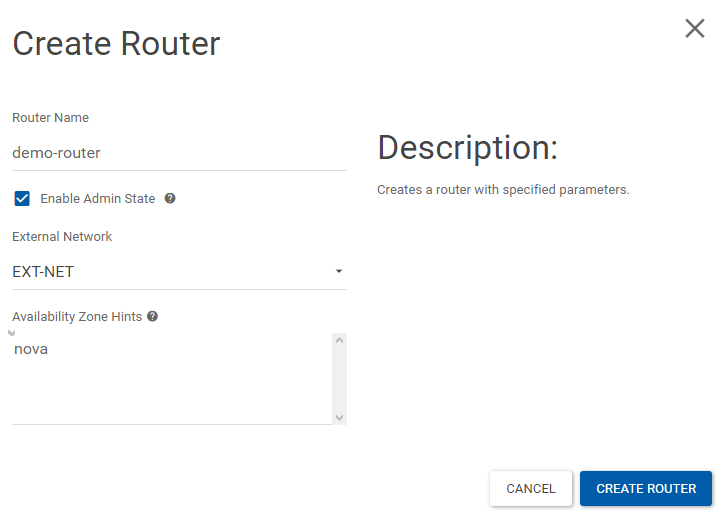
Once you have provided the details press the "Create Router" button to create the router.
Once you have created your router, select it in the Routers section of the web interface. Then navigate to the 'Interfaces' tab on the 'Router Details' page. This will show you the interfaces connected to your router, which should be empty at this stage, Click the "Add Interface".

Here, You can connect a specified subnet to the router. If you don't specify an IP address here, the gateway's IP address of the selected subnet will be used as the IP address of the newly created interface of the router. If the gateway's IP address is in use, you must use a different address which belongs to the selected subnet.
Once the router has been attached to the external (ext-net) network the router will receive a public IP address and will be able to route data out of the virtual OpenStack network to the internet.